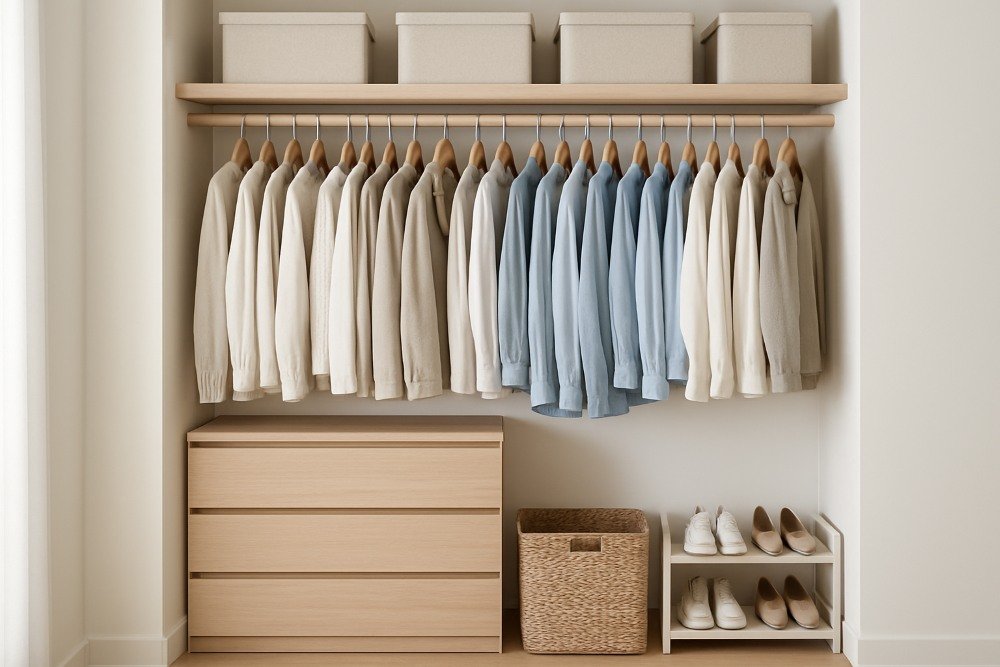
Imagine your closet as a peaceful haven where everything is organized and has its own place. Sounds good, right? Now think about how much time you’d save each morning getting ready. Bonus… you’ll be less stressed and full of positive energy to start your day.
Sounds impossible, doesn’t it? Knowing how to organize your closet isn’t a mystery, but it’s often overlooked when decorating. Since it’s easy to shut the door on the closet when giving guests the ‘grand tour,’ it often becomes a cluttered mess. This adds to your overwhelm, contributing to stress and wasting your time when searching for lost items.
You can change all that today. After all, your life is busy and stressful enough — your closet doesn’t need to add to that load.
In this article, I’ll show you a step-by-step process to turn your closet into an organized haven with some smart closet organization ideas.

You can change all that today. After all, your life is busy and stressful enough — your closet doesn’t need to add to that load.
In this article, I’ll show you a step-by-step process to turn your closet into an organized haven.
Assess and Declutter
Step 1. Start with a Clean Slate
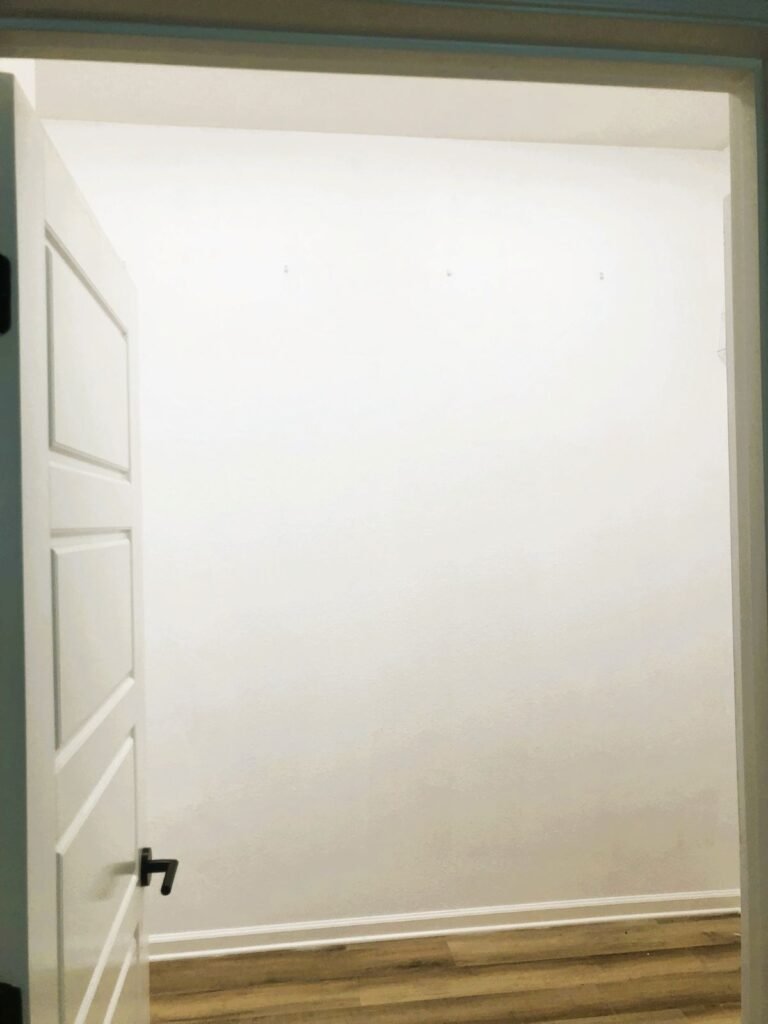
Before you do anything, start by emptying your entire closet. I can almost hear the groans now, but don’t skip this step.
Seeing that clear space is key to assessing what you have and visualizing what you need it to be.
Step 2. Clean, Dust, Vacuum, and Make it Sparkle
Now that everything is out, it’s time for a thorough clean. You’re probably never going to get it this empty again, so take time to get into every corner and crevice.
Clear away cobwebs, vacuum up dust, and uncover forgotten treasures that may have been lurking at the back of your closet.
I also used this opportunity to paint the walls white. Although not essential, a new coat of paint covers up scuffs, protects the walls from future marks, and brightens the space — especially helpful if your closet lacks natural light.
Step 3. Assess the Space
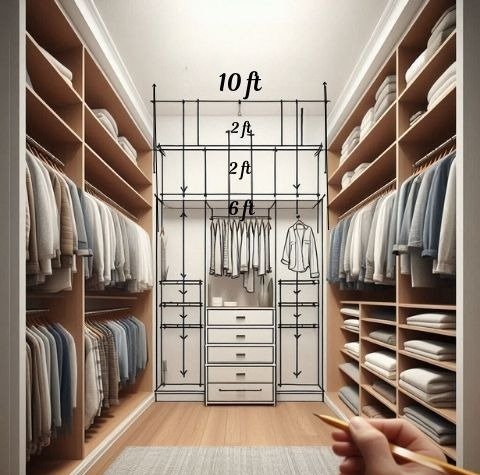
Once your space is clean, take a critical look at your closet. Visualize what can be improved. One thing to consider is whether you’re making the most of your wall height. Adding overhead shelving or multi-tier storage can increase space by up to 40%.
When reorganizing our closet, we measured the walls and ceiling height to see where we could add more space. Our closet had a ceiling height of 10 ft with our rails at 6 ft. That left 4 ft of empty space at the top on three walls. By adding extra shelving above the rails on all three walls, we created significantly more storage.
We also added shelving units at the sides for folded clothes and installed an extra row of rails to double the hanging space.
Grab a measuring tape and take a few minutes to measure your closet height and see if you can add some vertical space for storage.
Step 4. Declutter
Now it’s time to sort. I know it’s tough, but be honest with yourself.
Did you know the average American woman has $1,700 worth of unworn clothing in her closet? Most people wear only 20% of their wardrobe regularly!
Think about each item: Do you wear it now? Will you ever? Is it in good condition? Maybe you can sell or donate it. Use my printable flowchart to simplify these decisions.
Or, if you’d like to make some cash, here are some online resources for selling gently used clothes:
- eBay.com
- thredUP.com
- Poshmark.com
- Depop.com
- TheRealReal.com
Decluttering is such an important step, but it doesn’t need to be difficult. Here’s my page on how to declutter a closet. It shows you how to simplify the process and get through it effortlessly.
At some point, you’ll probably find all sorts of things that don’t belong in your closet. Sentimental items, paperwork, or things you’ve stuffed in boxes and forgotten about should be set aside. Make decisions on these later — they’re your “relocate” or “find a home for” items.
Not sure where to put the items that don’t belong in your closet? Visit my page on places to put clutter — it’s filled with practical ideas for storing or relocating those out-of-place items so they don’t end up creating new piles elsewhere.
Not sure where to store clothes you don’t wear every day? This article from Good Housekeeping shares 15 smart ideas for keeping off-season or rarely used items neatly tucked away.
Categorize and Sort
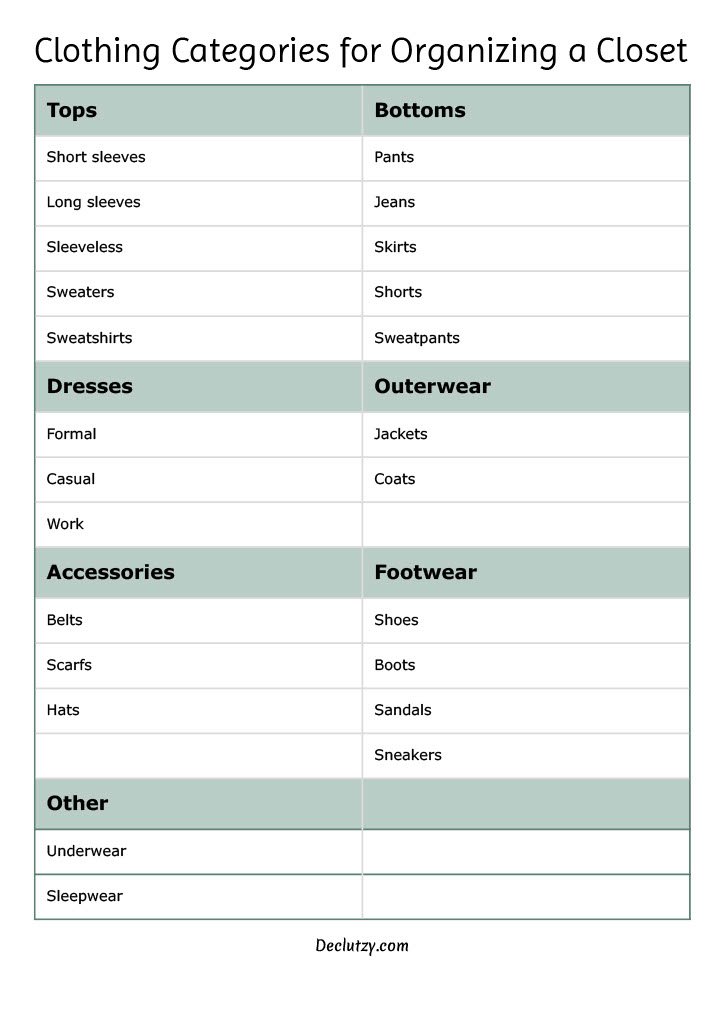
Step 5 – Group Similar Items Together
After your purge, you should be left with only the clothes you wear and need.
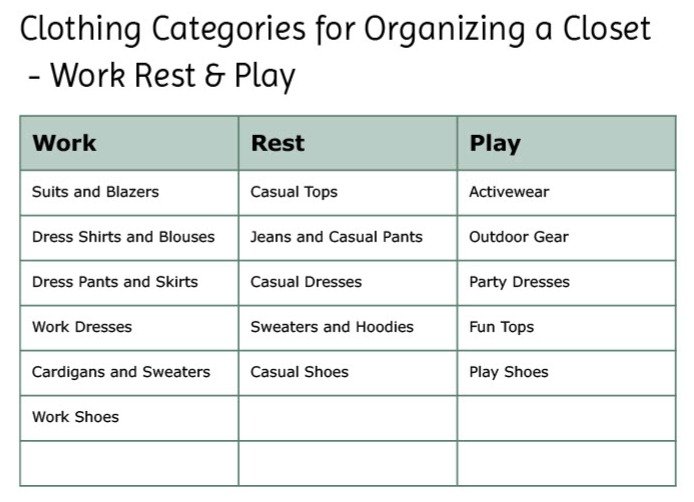
First, categorize your clothes by season. Next, sort them by type based on your lifestyle. You might group them into work, rest, and play clothes, or you could organize all your clothes together and sort them by tops, bottoms, etc.
Seasonal Items
To keep your closet streamlined, store your seasonal items in bins or baskets.
No overhead space? Try under-bed bins, vacuum-sealed bags, or attic/garage storage.
Step 6 – Maximize Vertical and Corner Space
As mentioned above, increasing your vertical space is one of the best ways to maximize your closet. If you’re not ready to install a fixed unit, try a hanging organizer with reinforced seams or steel frames to avoid sagging.
Hanger Options
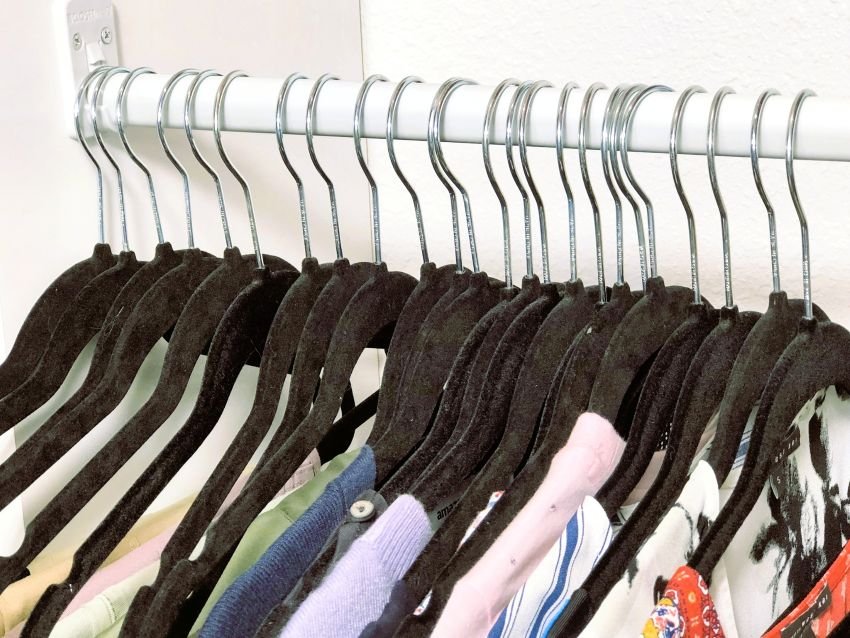
It’s not always your clothes taking up valuable real estate in your closet — sometimes it’s bulky hangers. Especially the wooden ones with wide shoulders. These preserve the shape of suits or coats but take up 2-3 inches of extra space per hanger.
Using slim velvet hangers can save up to 30% of hanging space in your wardrobe. You can also try multi-tier hangers for pants or accessories. Steer clear of wire hangers — they can bend, rust, cause clothes to slip off, and damage fabric over time. Plus, they’re ugly.
Pro Tips to Maximize Closet Space with Hangers
- Mix hanger types: Use bulky hangers only for heavy garments (coats, suits).
- Uniform direction: Hang all hangers facing the same way to eliminate gaps.
- Double-layer rods: Install a lower rod for shorter items (e.g., shirts) above bulky coats.
Here are some top tips and space-saving alternatives.
Maintain Organization
Step 7: Set up a Maintenance Schedule
It is so rewarding to finally get your closet organized — but now, as my Mum always used to say, keep it that way! Thankfully, an organized closet is much easier to keep tidy than a messy one.
By following these closet organization ideas, you’ll experience the relief of finally having a tidy and functional closet. You’ll feel a sense of accomplishment and empowerment, knowing you’ve taken control of your space.
And the best part? You’ll save time and reduce stress every single day. So, take a deep breath, embrace the process, and enjoy the journey to a more organized and stylish you!